
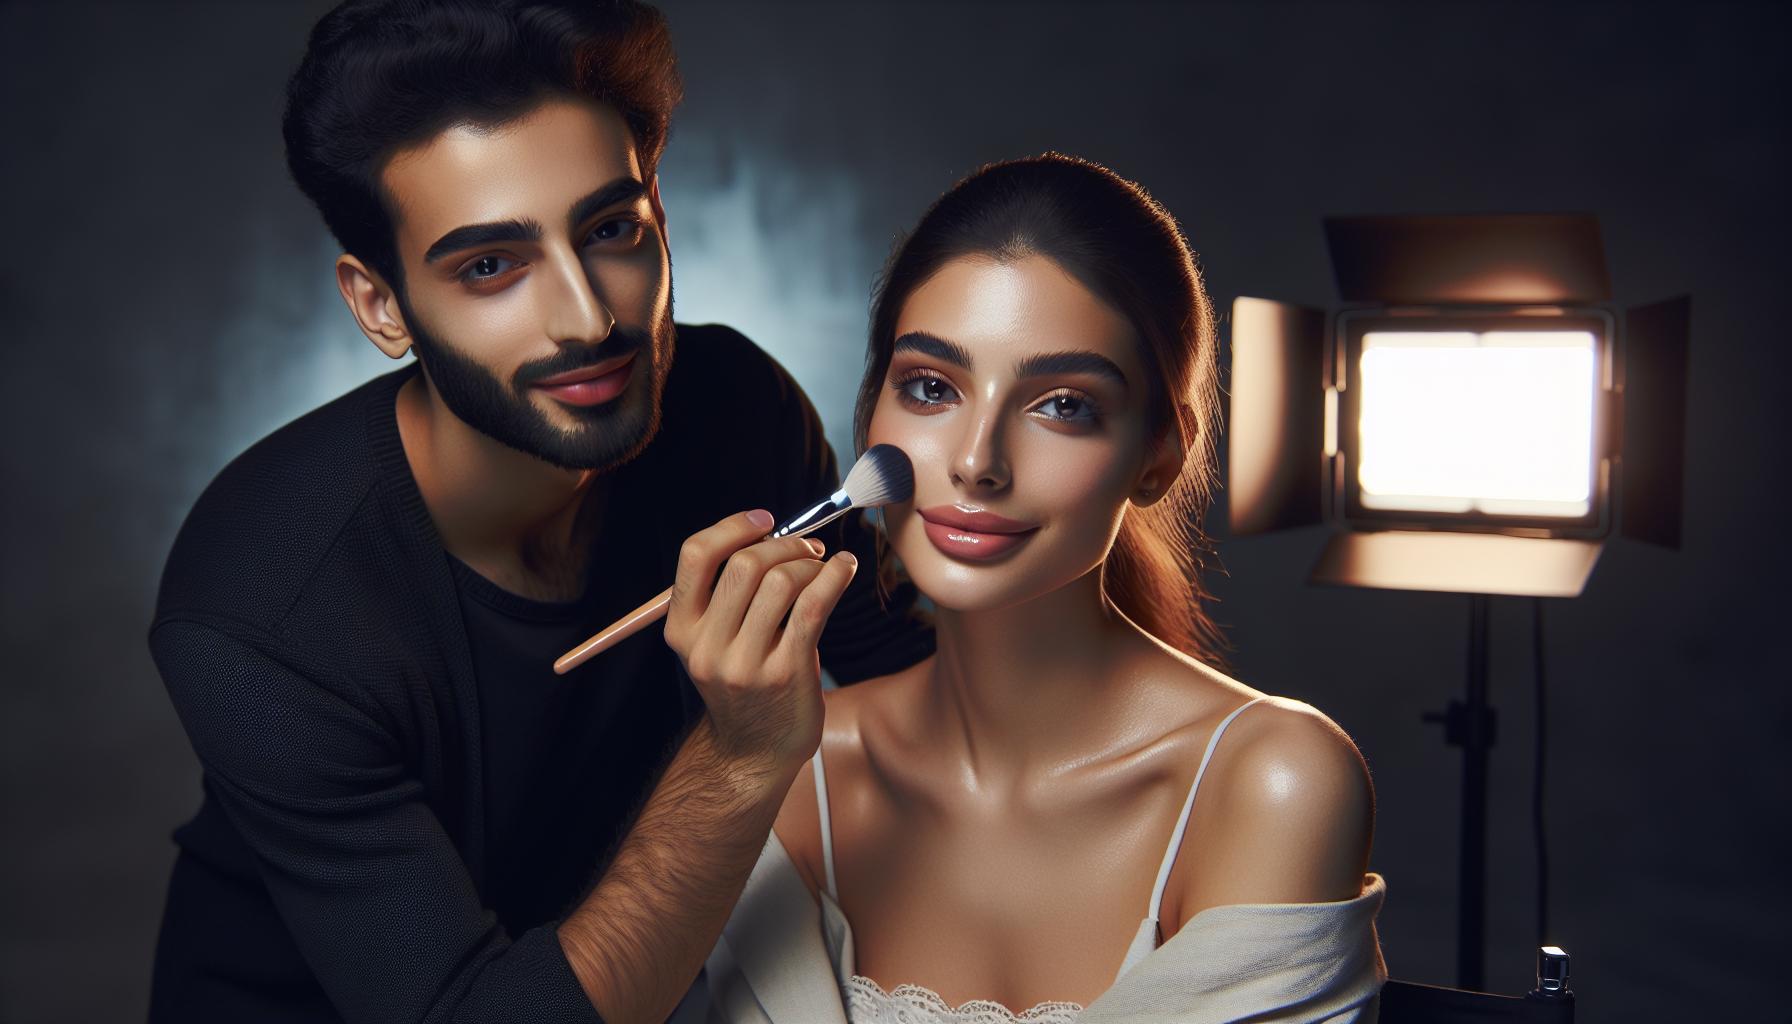
As a professional makeup artist I’ve learned that achieving a flawless natural look for photoshoots requires careful consideration and technique. The camera can be unforgiving capturing every detail so it’s crucial to strike the perfect balance between enhancing features and maintaining authenticity.
I’ve discovered that natural makeup isn’t about using less product but rather about strategic application and choosing the right formulations. Through years of experience working with photographers and models I’ve developed a foolproof approach that creates a timeless radiant appearance while ensuring the subject looks like themselves in photographs. The key lies in understanding how different products interact with lighting and knowing which techniques photograph best.
Understanding Natural Makeup for Professional Photography
Professional photography demands makeup techniques that translate beautifully through the camera lens while maintaining a natural appearance. I’ve developed specific approaches for creating camera-friendly looks that enhance features without appearing overdone.
Lighting and Makeup Interaction
Studio lighting illuminates makeup differently than natural light, requiring strategic product application. I focus on creating dimension with matte foundations that minimize reflection under bright lights. Flash photography accentuates shimmer particles in makeup, so I limit highlighting products to specific facial points: cheekbones, bridge of nose, cupid’s bow. In natural light settings, I adjust the intensity of products by 30% to prevent makeup from appearing washed out in final images.
Achieving a Camera-Ready Glow
The key to a photogenic natural glow lies in layering techniques. I start with a hydrating primer containing light-reflecting particles, followed by a sheer foundation application using a damp beauty sponge. For depth, I apply cream bronzer in thin layers along the hairline, cheekbones, and jawline. Here’s my proven product ratio for achieving natural luminosity:
| Product Type | Application Amount | Purpose |
|---|---|---|
| Primer | 1 pea-size amount | Light diffusion |
| Foundation | 1.5 pumps | Even coverage |
| Cream bronzer | 3 small dots | Dimension |
| Highlighter | 2 light taps | Strategic glow |
I concentrate on creating subtle transitions between products, blending extensively to eliminate visible makeup lines that cameras often magnify. A final mist of setting spray containing glycerin helps meld products together for a skin-like finish that photographs naturally.
Essential Products for Natural Photo Makeup

As a professional makeup artist, I’ve curated a specific set of products that consistently deliver natural-looking results in photographs. These products work in harmony with various lighting conditions while maintaining a skin-like finish.
Skin Prep and Primers
I recommend oil-free hydrating primers that create a smooth canvas without adding shine. My go-to products include:
- Water-based primers with hyaluronic acid for plump skin texture
- Pore-filling primers applied only in targeted areas
- Color-correcting primers in green or peach tones for specific skin concerns
- Gripping primers that extend makeup wear without looking heavy
Camera-Friendly Foundations
I select foundations that photograph beautifully while maintaining a natural appearance:
- Light to medium coverage foundations with buildable formulas
- Silicone-free options that prevent flashback
- Foundations with yellow or neutral undertones
- HD formulations specifically designed for photography
| Foundation Type | Best For | Camera Performance |
|---|---|---|
| Liquid HD | Studio shots | Excellent detail |
| Serum | Natural light | Skin-like finish |
| Cream | Mixed lighting | Buildable coverage |
Natural-Looking Concealers
I focus on concealers that enhance without appearing obvious in photos:
- Lightweight liquid concealers for under-eye brightness
- Creamy stick concealers for spot correction
- Color-matched concealers for seamless blending
- Hydrating formulas that resist creasing
These products create an undetectable base that appears natural in photographs while providing necessary coverage for professional shoots.
Key Techniques for Photo-Ready Natural Makeup

I implement specific application techniques to ensure makeup appears natural while maintaining photographic excellence. These methods focus on creating dimension without obvious product visibility.
Color Correction Basics
I start color correction by identifying specific skin concerns that cameras often amplify. Purple-toned correctors neutralize yellow undertones beneath the eyes while green correctors cancel redness around the nose or cheeks. I apply color correctors in thin layers using a dampened beauty sponge to maintain invisibility under foundation. The sequence matters: corrector first then foundation to prevent product mixing that creates muddy patches in photos.
Strategic Highlighting and Contouring
I create subtle dimension through precise product placement rather than heavy application. My highlighting technique targets three key areas: the high points of cheekbones, the bridge of the nose and the cupid’s bow. For contouring, I use cream products two shades deeper than the natural skin tone, applying them in upward strokes along the hairline, hollows of cheeks and jawline. The camera picks up even slight variations in depth, so I blend extensively with a dual-fiber brush to eliminate harsh lines.
| Facial Area | Product Type | Application Technique |
|---|---|---|
| Under Eyes | Peach/Purple Corrector | Patting motion with damp sponge |
| Cheeks/Nose | Green Corrector | Stippling with synthetic brush |
| Cheekbones | Cream Highlighter | Tap and blend upward |
| Jawline | Cream Contour | Blend in upward strokes |
Tips for Long-Lasting Natural Makeup
Long-lasting natural makeup for photoshoots requires specific techniques to maintain a fresh appearance throughout extended sessions. These methods preserve the authenticity of the look while ensuring it photographs beautifully for hours.
Setting Techniques
I apply setting products in precise layers to lock makeup in place without compromising the natural finish. Here’s my proven approach:
- Press translucent powder into the T-zone using a damp beauty sponge
- Dust a fine layer of HD setting powder on areas prone to creasing
- Mist setting spray in an X and T formation at 12 inches from the face
- Allow each layer to dry for 30 seconds before proceeding
- Pat excess moisture with a tissue to prevent droplets from disturbing the makeup
Touch-Up Essentials
I keep these specific items in my kit for maintaining natural-looking makeup during photoshoots:
- Oil-absorbing papers to blot shine without disturbing makeup
- Mini beauty sponge for precise powder touch-ups
- Q-tips dipped in micellar water for cleaning mascara smudges
- Clear blotting powder to refresh makeup without adding coverage
- Facial mist with glycerin to revive makeup after 4-5 hours
| Area | Frequency | Product |
|---|---|---|
| T-zone | Every 2-3 hours | Blotting paper |
| Under eyes | Every 4 hours | Setting powder |
| Lips | Every 2 hours | Lip tint |
| Cheeks | Every 3-4 hours | Setting mist |
Common Photography Makeup Mistakes to Avoid
I’ve identified several recurring makeup errors that compromise photo quality based on my experience with professional photography. These mistakes create distracting elements in images even when using natural makeup techniques.
Flash Photography Concerns
Flash photography reveals makeup errors that might go unnoticed in regular lighting. I’ve observed that excessive powder creates a chalky cast while too much shimmer creates unflattering light reflection. Here’s what I avoid:
- Using metallic finishes on oily areas of the face
- Applying loose powder without proper blending
- Placing highlighter too close to smile lines
- Overdoing concealer under the eyes
- Setting makeup with HD powders containing silica
Color Balance Issues
Color matching requires specific adjustments for photography lighting. I focus on these key areas:
- Testing foundation in natural light before the shoot
- Avoiding SPF-containing products that create flashback
- Matching neck color to face makeup
- Blending bronzer past the jawline for seamless transition
- Using neutral-toned blushes instead of bright pinks
| Issue | Effect in Photos | Solution |
|---|---|---|
| SPF Flashback | White cast | Use photo-specific foundation |
| Mismatched Foundation | Obvious makeup line | Test in natural light |
| Warm Bronzer | Orange appearance | Choose neutral undertones |
| Bright Blush | Color distortion | Opt for muted shades |
| Unblended Contour | Harsh lines | Blend with damp sponge |
Conclusion
I’ve found that mastering natural makeup for photoshoots requires a delicate balance of technique product selection and understanding of lighting dynamics. Through my experience I’ve learned that achieving a natural look isn’t about minimizing products but rather about strategic application and proper preparation.
The key to photo-ready natural makeup lies in choosing the right products understanding color correction and mastering techniques that enhance features while maintaining authenticity. I believe that attention to detail in application and thorough knowledge of how makeup interacts with different lighting scenarios are essential for creating timeless photographic memories.
Remember that practice and patience will lead to consistent beautiful results. With these techniques and insights you’ll be well-equipped to create stunning natural looks that photograph beautifully in any setting.